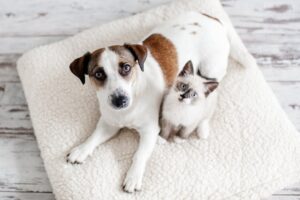
Bringing a new pet into your home is an exciting and rewarding experience, but it also comes with challenges—especially when it comes to stains and odors. Accidents are a normal part of pet ownership, particularly during the training phase. Whether you have a playful puppy, a curious kitten, or even an older pet, learning how to properly clean up after them is essential. Understanding the right techniques and products can help you maintain a fresh and clean home without lingering pet-related odors.
Understanding the Cause of Pet Stains and Odors
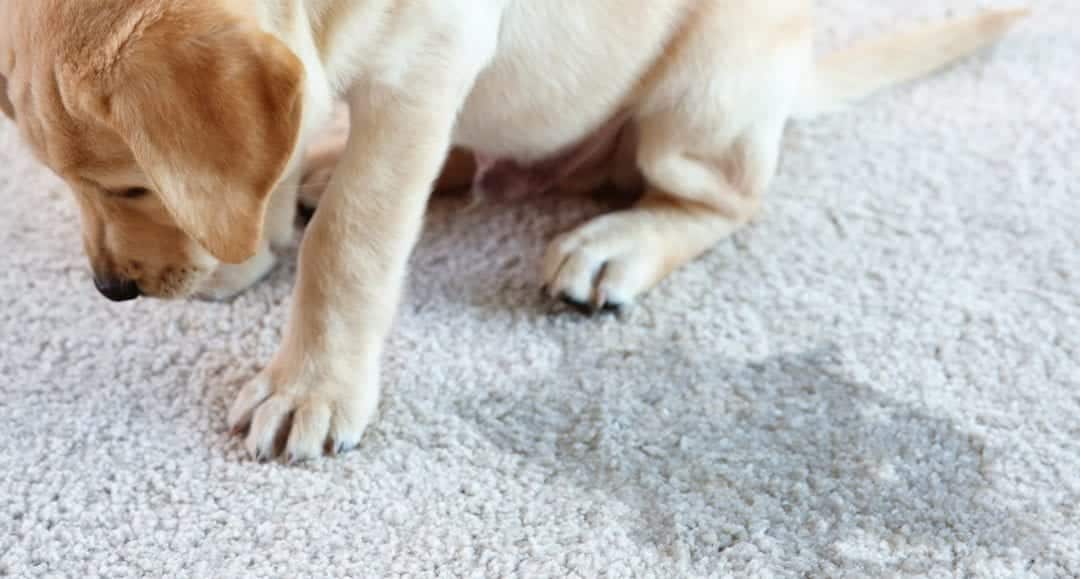
 Pet accidents can happen for a variety of reasons. Puppies and kittens may not yet be house-trained, while older pets may experience incontinence or behavioral issues. In some cases, pets may mark their territory, leaving behind strong odors. The key to effective stain and odor removal is to address the problem as soon as possible. Pet urine, for example, contains uric acid, which can penetrate deep into carpets and fabrics. If not properly treated, it can leave behind a lasting scent that encourages repeat accidents.
Immediate Steps to Take When an Accident Happens
Acting quickly is crucial when dealing with pet stains. The longer a stain sits, the harder it becomes to remove. If you catch the accident right away, use an absorbent cloth or paper towel to blot as much liquid as possible. Avoid rubbing the area, as this can push the stain deeper into the fabric or carpet fibers. For solid messes, remove them carefully and clean the area thoroughly.
Using water alone is not enough for effective pet stain and odor removal. A mild detergent or a pet-safe enzymatic cleaner can break down the proteins in urine and feces, eliminating both the stain and odor. For best results, allow the cleaner to sit for several minutes before blotting it up.
Choosing the Right Cleaning Products
Not all cleaning solutions are suitable for pet stains. Some household cleaners contain chemicals that can be harmful to pets, especially if ingested. Enzymatic cleaners are one of the most effective options because they break down organic matter at a molecular level, removing both the stain and the odor. Vinegar and baking soda can also be used for natural stain removal, though they may not be as effective on older or set-in stains.
For carpets and upholstery, a pet-specific carpet cleaner or steam cleaner can help remove deep-set stains. Avoid using ammonia-based cleaners, as they can mimic the scent of urine and encourage pets to mark the same spot again.
Removing Pet Odors from Different Surfaces
Pet odors can linger on a variety of surfaces, including carpets, furniture, and even hardwood floors. Each material requires a different approach to odor removal.
For carpets, deep cleaning with a carpet shampooer or an enzymatic cleaner can help eliminate lingering smells. Sprinkling baking soda over the affected area and allowing it to sit overnight before vacuuming can also help neutralize odors.
Furniture and upholstery require gentle cleaning to avoid damage. Using a pet-safe fabric cleaner or lightly misting the area with a water and vinegar solution can help freshen up fabrics. For leather surfaces, a specialized leather cleaner is the best option.
Hardwood floors can absorb pet odors if not cleaned properly. Wiping the area with a mixture of water and vinegar or using a pet-safe hardwood floor cleaner can help eliminate any remaining scent. Be sure to dry the area thoroughly to prevent moisture damage.
Preventing Future Accidents
Training and consistency are key to preventing future pet accidents. Establishing a regular bathroom routine for your pet can reduce the chances of indoor accidents. Providing positive reinforcement when your pet goes outside or uses a designated area can also help reinforce good behavior.
If accidents continue to happen in the same spot, consider using deterrent sprays or covering the area temporarily. Pets are more likely to return to previously soiled areas, so thoroughly cleaning and neutralizing odors is essential to breaking this habit.
For pets with ongoing accidents, a veterinary check-up may be necessary to rule out medical issues. Conditions such as urinary tract infections, kidney problems, or anxiety can contribute to frequent accidents. Addressing the underlying cause can help prevent further incidents.
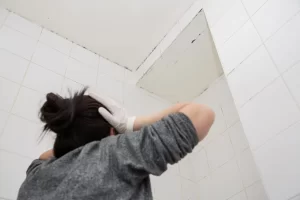 Mold and mildew thrive in warm, damp environments. Bathrooms, particularly showers, are constantly exposed to moisture, making them an ideal breeding ground. Poor ventilation, lingering soap scum, and irregular cleaning can accelerate their growth. Since mold spores are naturally present in the air, they settle and multiply quickly on wet surfaces. Recognizing these conditions is the first step in preventing their spread.
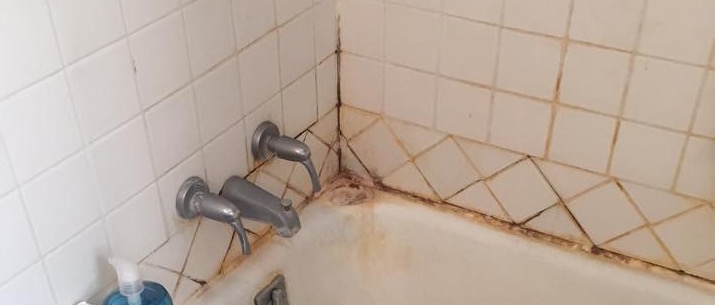
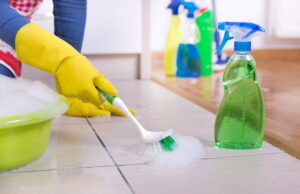 Not all tile surfaces require the same cleaning approach. The type of tiles in your kitchen—whether ceramic, porcelain, natural stone, or glass—determines the best cleaning method. Harsh chemicals can damage certain materials, so selecting a gentle yet effective cleaning solution is crucial. A mixture of warm water and mild dish soap works well for general cleaning, while baking soda and vinegar can be effective for tackling stubborn stains and grout discoloration.